Get Perfect French Toast Sticks: Tips for Crispy, Fluffy Bites
Imagine waking up to the aroma of cinnamon and vanilla, followed by the delightful crunch of a perfectly golden exterior giving way to a soft, fluffy interior. This isn't just a dream; it's the reality of homemade french toast sticks. These irresistible bites have become a breakfast sensation, beloved by kids and adults alike for their dippable convenience and comforting flavor. Forget the fuss of traditional fried French toast; with a few simple tips and the magic of your oven, you can achieve that coveted crispy texture with less mess and more consistent results.
Making delicious french toast sticks doesn't have to be a daunting task. In fact, it's surprisingly simple to transform ordinary bread into an extraordinary breakfast or brunch treat. The secret lies in a careful selection of ingredients and a smart baking approach that guarantees every stick emerges with a beautiful golden-brown crust and a tender, melt-in-your-mouth center. Whether you're planning a leisurely weekend brunch or need a quick, satisfying weekday meal, these homemade french toast sticks are sure to become a repeat request at your table.
The Secret to Crispy, Fluffy French Toast Sticks (and Why Baking is Best)
Achieving the ideal balance of a crispy exterior and a fluffy interior is the holy grail for any french toast stick enthusiast. While frying can sometimes yield a crispy result, it often comes with inconsistent browning, uneven cooking, and a greasy feel. This is where baking truly shines. Baking your french toast sticks in the oven offers a superior method for several key reasons:
*
Consistent Crispness: The dry heat of the oven evenly cooks the bread, creating a uniform golden-brown crust on all sides without excessive oil. This means every stick gets that desirable crunch.
*
Hands-Off Cooking: Once your sticks are on the baking sheet, the oven does most of the work, freeing you up to prepare coffee, set the table, or simply relax. No more standing over a hot stove, flipping individual pieces.
*
Less Mess, Healthier Option: Baking requires significantly less oil than frying, resulting in a cleaner cooking experience and a lighter end product. You get all the crispy goodness without the added grease.
*
Even Fluffiness: The gentle, all-encompassing heat of the oven allows the custard to cook through evenly, ensuring a consistently soft and tender interior for every single stick.
The foundation for this perfect texture begins even before the oven is preheated. It’s a combination of choosing the right bread, crafting a flavorful custard, and employing proper dipping techniques.
Choosing Your Foundation: The Right Bread Makes All the Difference
One of the most crucial elements in preventing soggy french toast sticks and achieving that desirable crispy-on-the-outside, fluffy-on-the-inside texture is your choice of bread. This is not the time for flimsy, regular sandwich bread. Thin bread is the archenemy of perfect french toast, soaking up too much eggy custard and turning into a soggy, unappetizing mess.
To avoid this common pitfall, you need thick-cut bread – ideally, at least 1 to 1½ inches thick. Here are some excellent choices and why they work so well:
*
Texas Toast: Often found pre-sliced to the perfect thickness, Texas toast is a go-to for many. Its sturdy nature can handle the custard without disintegrating.
*
Brioche: This rich, buttery bread is a luxurious choice. Its inherent softness and slight sweetness lend themselves beautifully to french toast, while its density prevents sogginess.
*
Challah: Similar to brioche but typically less buttery, challah has a wonderful, tight crumb that holds its shape and soaks up just the right amount of custard.
*
Day-Old Artisan Loaf: A slightly stale loaf of sourdough or a rustic white bread that you slice yourself is fantastic. Day-old bread is slightly drier, which means it will absorb the custard without becoming waterlogged, leading to a better texture after baking.
If you're slicing your own loaf, aim for consistent thickness to ensure even cooking. Using a serrated knife can help you achieve clean, even cuts. Cut the bread into sticks approximately 1 to 1½ inches wide and 4-6 inches long. This size is ideal for dipping and provides a satisfying bite.
Crafting the Perfect Custard: Flavor and Consistency
With the right bread in hand, the next step is to create a rich and flavorful custard. This liquid gold is what transforms plain bread into a sweet, aromatic delight.
For three large eggs, the general recommendation is around ⅓ cup of milk. If you only have small or medium eggs on hand, you might need four or five to get the right ratio for a generous amount of bread sticks. Whisk the eggs thoroughly to ensure no eggy streaks remain – you want a smooth, uniform base for your flavorings.
When it comes to milk, you have options, and each can subtly alter the final texture:
*
Whole Milk or Heavy Cream: These will yield the thickest, creamiest, and most decadent results. The higher fat content contributes to a richer flavor and a slightly denser, more custardy interior.
*
2% Milk: A widely available and excellent choice, offering a good balance of creaminess without being too heavy.
*
Almond or Oat Milk: If you prefer a dairy-free option, these work perfectly well. Be aware that the final texture might be slightly less thick and creamy than with dairy milk, but the flavor will still be wonderfully delicious.
Now for the star flavorings! A classic combination includes a generous dash of vanilla extract, a comforting sprinkle of ground cinnamon, and a pinch of nutmeg. These spices are iconic for a reason, creating that quintessential warm, sweet aroma that defines french toast. You can also experiment with:
* A tiny pinch of salt to balance the sweetness and enhance other flavors.
* A touch of brown sugar for a deeper, molasses-like sweetness.
* A little orange or lemon zest for a bright, fresh note.
Don't forget the sweetener! I recommend adding granulated sugar directly into the batter. This ensures every bite has a consistent sweetness. You can also sprinkle a bit more sugar directly onto the bread sticks just before baking for an extra sweet, slightly caramelized crust. For an in-depth guide on perfecting this recipe, check out our
Crispy Oven-Baked French Toast Sticks: Easy Breakfast Recipe.
Dipping, Baking, and Achieving Golden Perfection
The journey to perfect french toast sticks moves from crafting the custard to the crucial stages of dipping and baking. These steps are where that ideal texture truly comes to life.
The Dipping Dance: Quick and Even
Once your custard is whisked to perfection, it's time to dip the bread sticks. This isn't a soak, it's a quick dip. Immerse each stick briefly, turning it to ensure all sides are coated. The goal is to absorb enough custard for flavor and moisture, but not so much that the bread becomes saturated and soggy. Thick-cut bread helps immensely here, as it can handle a quick dip without falling apart. Let any excess drip off before carefully transferring the coated sticks to your prepared baking sheet.
Baking for Golden Crispness
Preparation for baking is straightforward. Line a large baking sheet with parchment paper. This simple step is a game-changer for easy cleanup and prevents any sticking. Arrange your coated french toast sticks in a single layer, ensuring there's a little space between each one for even air circulation. Crowding the pan can lead to steaming, which will inhibit crispness.
Preheat your oven to the recommended temperature (typically around 400°F or 200°C). A hot oven is key to achieving that immediate golden crust. Bake for 10-12 minutes on one side, then carefully flip them over and bake for another 8-10 minutes, or until they are beautifully golden brown and firm to the touch. Keep an eye on them in the final minutes, as oven temperatures can vary. You'll know they're ready when they have a satisfying crunch when gently pressed. The beauty of baking is the hands-off approach, allowing you to prepare the table or your favorite toppings while they cook to perfection.
Beyond the Basics: Serving, Customizing, and Make-Ahead Magic
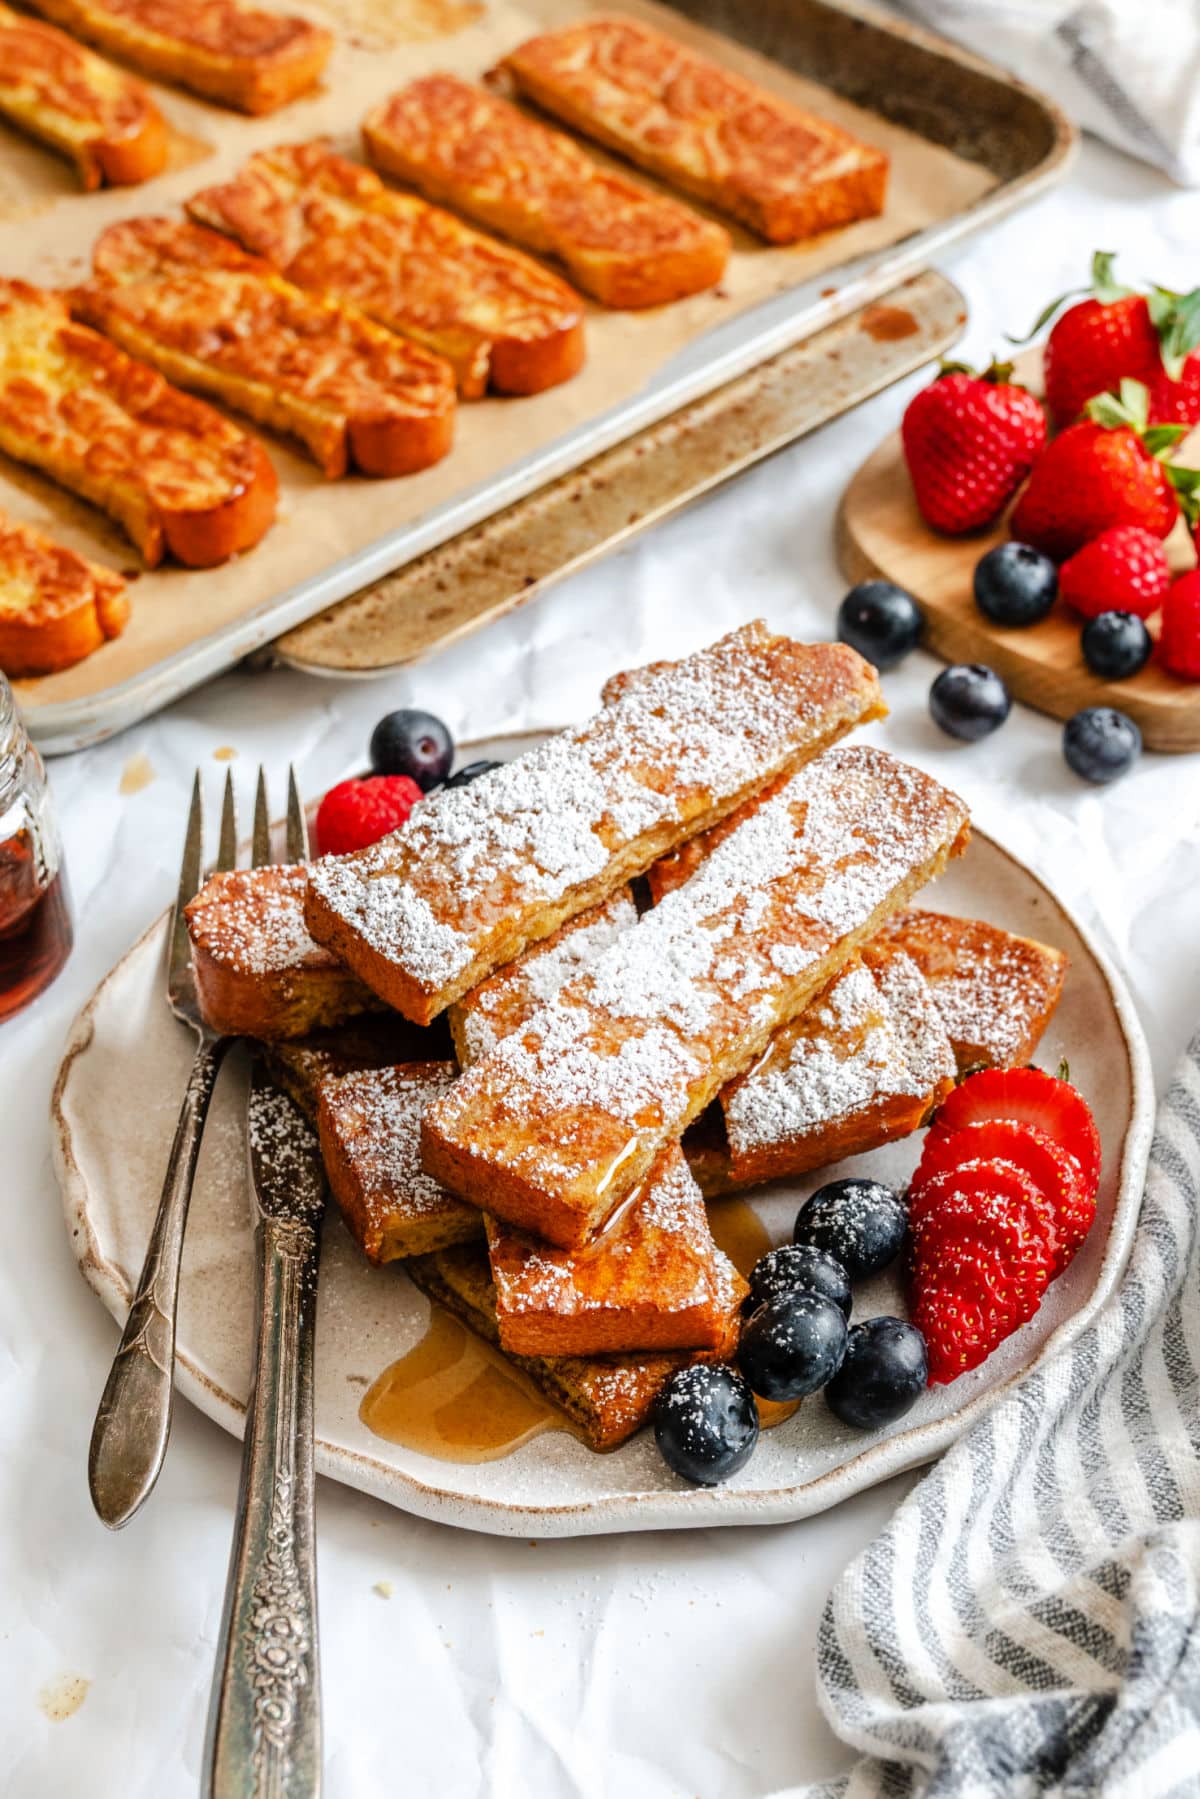
Once your golden, crispy french toast sticks emerge from the oven, the real fun begins! While they are absolutely delicious straight out of the oven, warm and fragrant, their dippable nature invites a world of toppings and serving possibilities.
Dipping Delights and Topping Temptations
The classic pairing of maple syrup is always a winner. Pour a small bowl for each person, making dipping easy and fun. But don't stop there!
*
Powdered Sugar: A simple dusting of confectioners' sugar adds an elegant touch and extra sweetness.
*
Fresh Fruit: Berries like strawberries, blueberries, and raspberries offer a burst of freshness and vibrant color. Sliced bananas are also a fantastic option.
*
Whipped Cream: A dollop of homemade or store-bought whipped cream makes them feel extra indulgent.
*
Fruit Preserves or Compotes: Cherry, strawberry, or apricot preserves provide a delightful fruity sweetness and texture.
*
Nutella or Chocolate Sauce: For the ultimate sweet treat, offer a side of warm Nutella or a drizzle of chocolate sauce.
*
Caramel Sauce: A sticky, sweet caramel drizzle can elevate the flavor profile.
For a unique twist, consider a dollop of Greek yogurt with a swirl of honey for a slightly tangy, healthier option. The beauty of french toast sticks is their versatility; serve them however you and your family enjoy them most.
Make-Ahead Magic for Effortless Brunch
These french toast sticks are perfect for entertaining or busy mornings, thanks to their make-ahead potential. Planning a brunch with guests who wander into the kitchen at various times? No problem! You can easily prepare these in batches, with one round baking while another is being devoured.
Even better, you can do most of the prep work the night before. Simply whisk together your custard ingredients and store the batter in an airtight container in the refrigerator. Slice your bread into sticks and place them back in their bag or an airtight container, being careful not to squish them. The next morning, just give the batter a quick whisk, dip the bread, and bake! This advance preparation is a game-changer for a stress-free breakfast. For more make-ahead tips and brunch inspiration, be sure to read our article on
Family's Favorite Baked French Toast Sticks: Make-Ahead Brunch.
If you happen to have leftovers (a rare occurrence!), store them in an airtight container in the refrigerator for up to 3 days. To reheat and restore their crispness, pop them back in the oven or an air fryer at 350°F (175°C) for a few minutes until warmed through and crunchy again.
In conclusion, achieving perfect french toast sticks with a crispy exterior and a fluffy interior is entirely within reach. By focusing on thick-cut bread, a well-balanced custard, and the efficiency of oven baking, you can create a breakfast or brunch that's not only incredibly delicious but also surprisingly simple to prepare. So go ahead, gather your ingredients, follow these tips, and treat yourself and your loved ones to a batch of these irresistible, dippable delights. Your taste buds will thank you!